

How to make an AR living photo: a printed photo that plays video
 Living photos
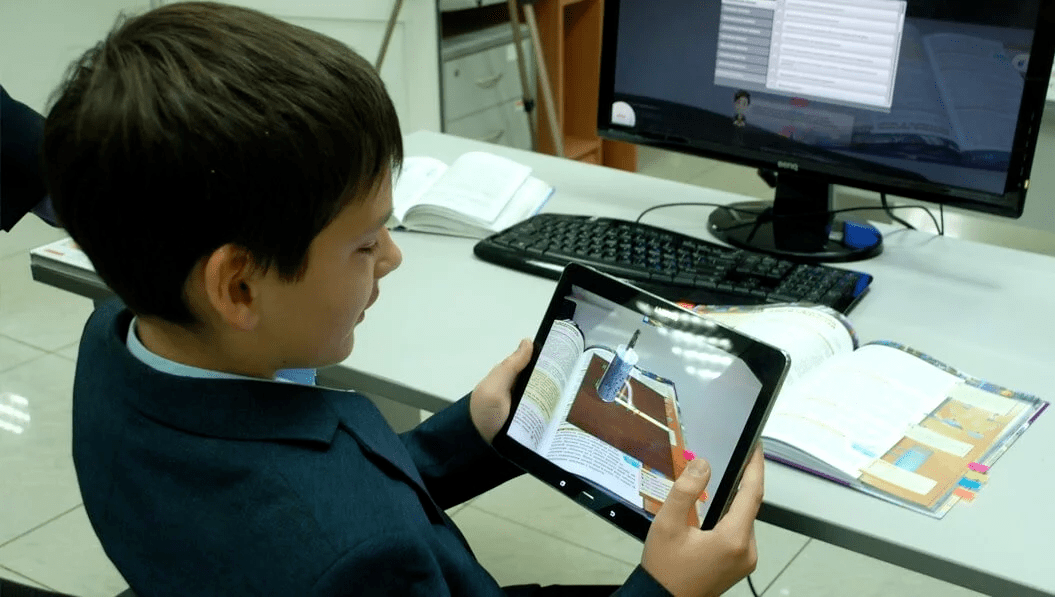
An AR living photo is an ordinary printed photo that plays a video when someone points a phone at it. The viewer scans a QR code, the project opens in the phone's browser, and the video appears exactly on top of the print. To make one, you need the photo, a short video that starts with the same frame, and a project with photo tracking.
One thing to clear up first: AI apps that make a still picture "move" are a different thing. A living photo plays your own, real video over the print, so the moment on paper and the moment on screen are the same.
What you need
- The photo, the final version that goes to print.
- A short video of the same moment, shot from the same spot. A few seconds is often enough: the wave, the kiss, the laugh.
- A Web-AR.Studio account. You build the project in the browser, with no special software.
- Somewhere for the QR code: next to the photo, on the back of the print or on the album page.
Shoot the video so the photo comes alive
The effect works when the photo seems to start moving, not when a different picture covers it. So:
- Make the first frame of the video match the photo. The easiest way is to take the photo as a frame from the video, or to keep filming right after the shot from the same position.
- Keep the same crop and aspect ratio. If the print is square, edit the video square too.
- Keep the camera still. A tripod helps. The print doesn't move, so a steady video feels like part of it.
- Keep it short. One moment, not a whole film. People hold the phone up for a short while, not for a feature.
- End well. Loop the video, or let it settle on a frame close to the photo.
Build it in Web-AR.Studio
There are two ways. Pick the one that matches your project.
Quick: a template in WAS Lite Studio
WAS Lite Studio is made for exactly this kind of project. You pick a template, attach your files and fill in the fields. No layout work is needed.
Flexible: WAS Design Studio
Use WAS Design Studio when you want more than a video: buttons, music, a 3D model, several scenes.
- Create a project with photo tracking and upload the photo exactly as it will be printed.
- Add the video on top of the photo. Match its size and position to the photo, so the edges line up.
- Add anything else you need: a caption, a button with a link, a second scene.
- Publish the project and test it on a phone, pointed at the real print.
- Share the link or the QR code with your client, or print the code next to the photo.
A whole album works the same way: one project can recognise several photos, each with its own video. Your viewers scan one QR code and then point the phone at any page.
About sound
Phone browsers usually don't play sound until the viewer taps the screen. So the video may start silently. Make sure the first seconds work without sound, and if the sound matters, such as a voice or a song, tell people on the print to tap the screen.
Ideas that sell
- Graduation albums. A class photo where the whole class waves at the camera. Shoot the video right after the group photo.
- Weddings. The first dance on the main print, the vows on the album cover, a short greeting on the invitation.
- Portraits and family photos. A child's portrait that says a few words in their own voice.
- Souvenirs. Postcards, magnets and prints for tourist spots, where the place comes alive.
- Events. A printed photo from the event, with the best moment of the day inside it.
More examples: Live AR photos.
How to offer it to clients
- Show, don't tell. Keep a sample print in your bag and let people scan it themselves.
- Sell it as an add-on. One living photo in a set of prints, or a living cover for the album.
- Plan the video at the shoot. Add a few seconds of video to every key shot, so you have material later.
- Make it yours. Connect your own domain and set up your own loading screen, so the client sees your studio, not someone else's.
- See what works. The built-in analytics show how your projects are viewed.
If something goes wrong
| What you see | Likely cause | Fix |
|---|---|---|
| Nothing happens | The photo has too little detail or contrast | See how to pick a picture that tracks well |
| The video "jumps" at the start | The first frame doesn't match the photo | Take the photo from the video, or re-edit the start |
| The video sticks out past the photo | Different size or aspect ratio | Crop the video like the print, then match the size |
| No sound | The browser waits for a tap | Ask viewers to tap the screen |
| It flickers on glossy prints | Glare | Print on matte paper |
Ready to try it on your own photo? Make your first living photo in WAS Lite Studio. The basic features are free, with no time limit and no bank card.
FAQ
Do viewers need to install an app?
No. They scan the QR code, and the project opens in the phone's browser. Then they point the camera at the photo.
Can one album have many living photos?
Yes. One project can recognise several photos, so a whole album can open from one QR code.
Can I change the video after the photos are printed?
Yes. The QR code leads to your project, so when you publish a new version, the same code shows it.
Does it work with a photo on a computer screen?
Yes, that's a handy way to test and to show samples online. Screen glare can still get in the way, so test in the light where you'll show it.
Recommended articles


Learn more about how to use Web-AR.Studio
We'll show you how to do this and answer all your questions in our educational AR webinar!
AR.Studio Cookie Notice
We use cookies that are necessary to run this site, and analytics cookies only if you accept. You can change your choice at any time. More details
